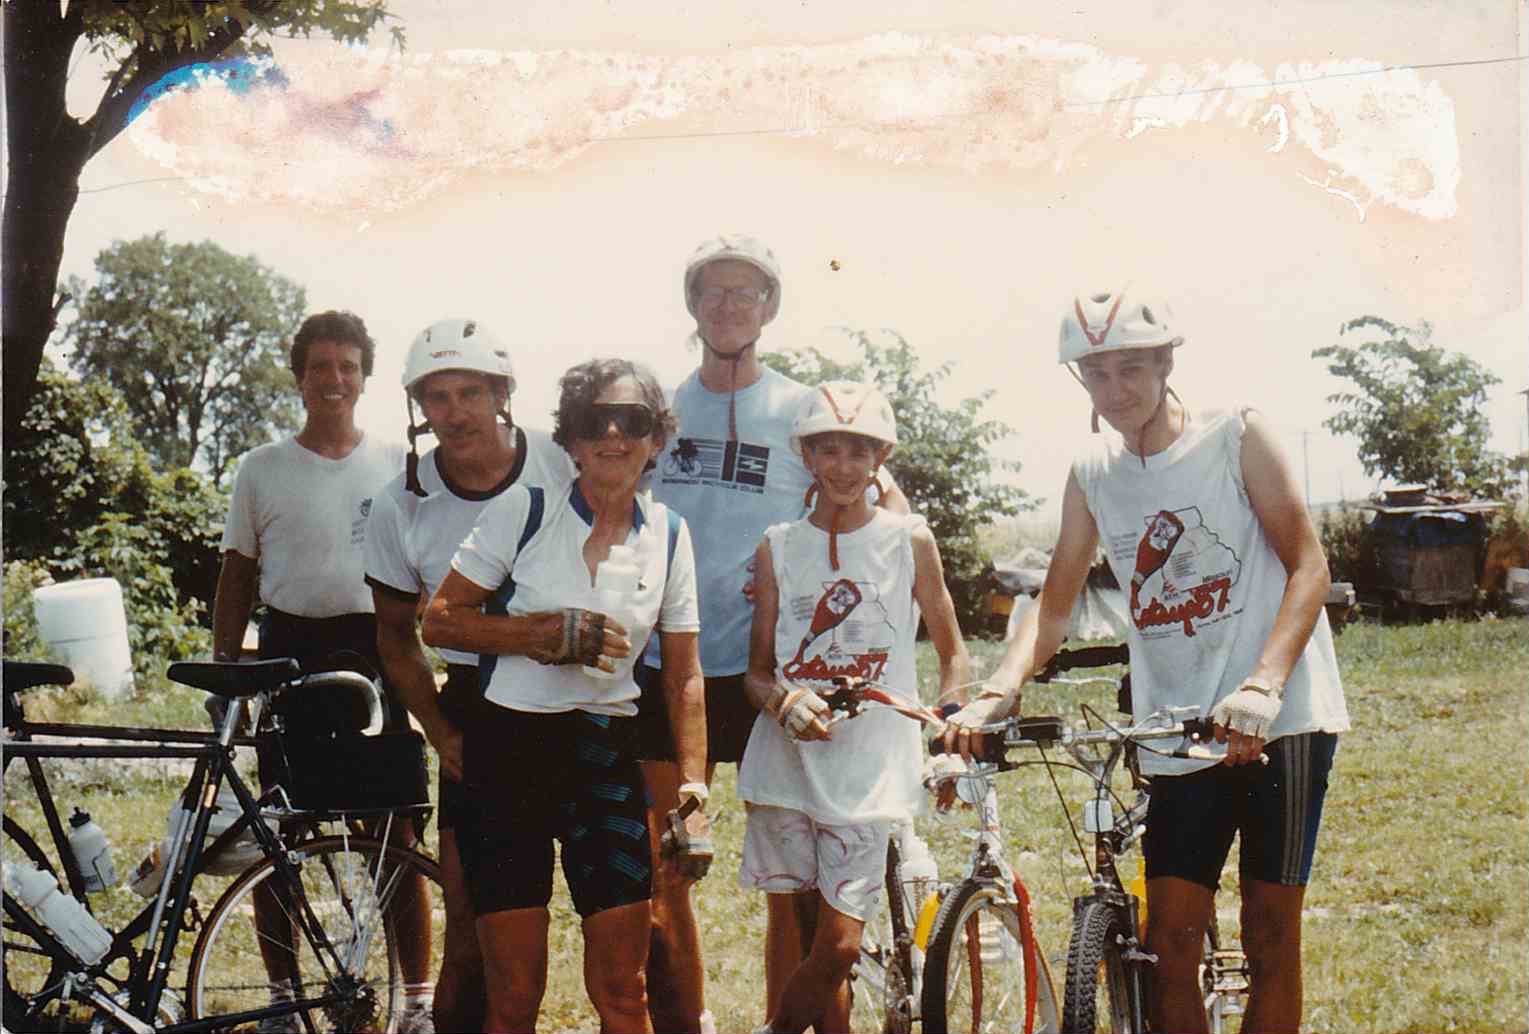
I spent a week with my friend Matt on a tour around Missouri by bicycle. We would bike from park to park and the tour group would bring our camping gear to each location and feed us.
Posts by Chuck Curtis

I spent a week with my friend Matt on a tour around Missouri by bicycle. We would bike from park to park and the tour group would bring our camping gear to each location and feed us.
Today is a little wetter and cooler than yesterday – another good day for indoor chores.
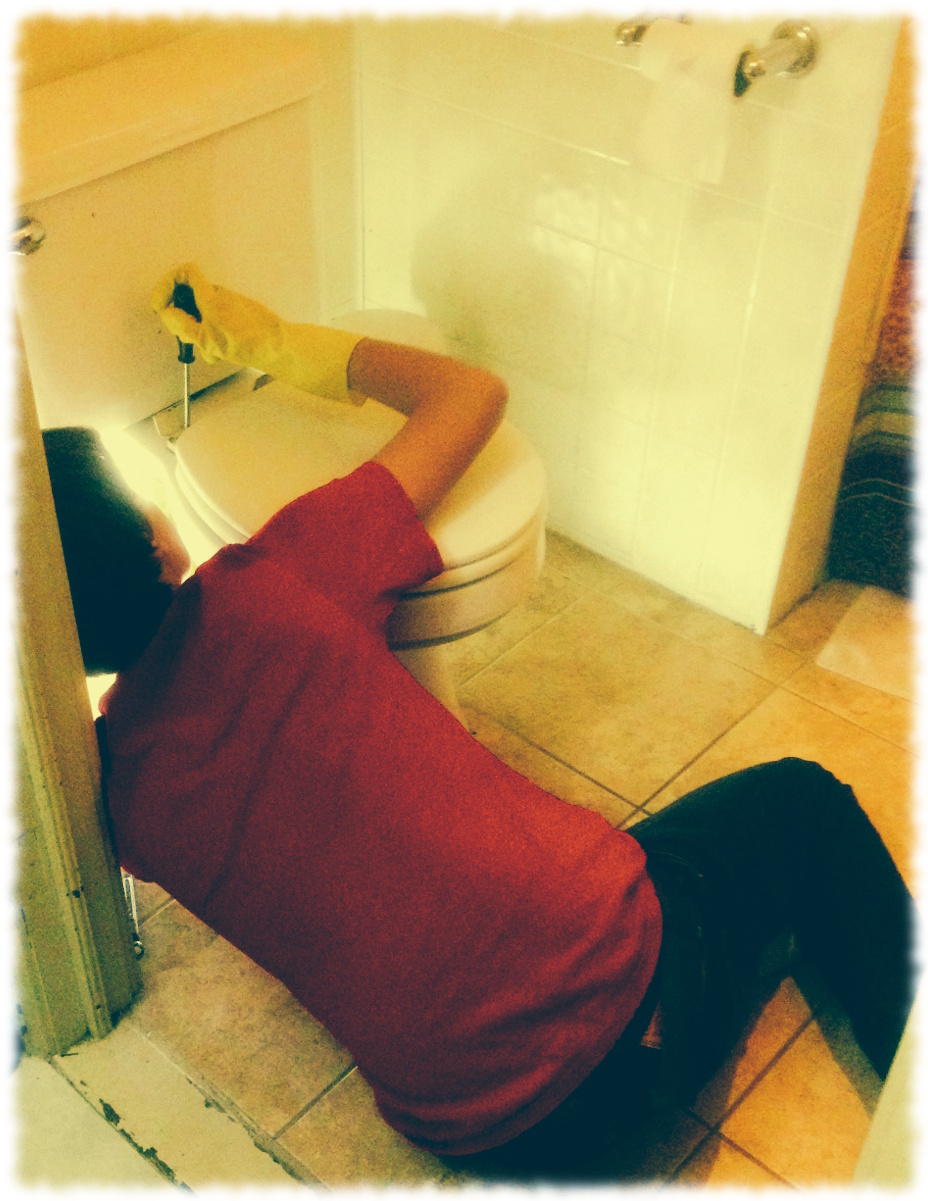
The boys and I went to the store this morning to get supplies for house projects. I was planning on focusing on adding outlets to the nursery. The boys decided to work on project to earn a little extra electronic play time today.
Will choose to replace the toilet seat. The old seat had broken, so he picked out a new seat and replaced the old one. Ben decided to add a wireless doorbell to the house. The previous doorbell hasn’t worked in years, so a new wireless bell seemed like a quick simple project to get off the to do list. Both boys are getting old enough to help around the house without much supervision.
I was able to make some progress on getting outlets added to the nursery. I’ll have some more work to do in the evenings this week, but I’m feeling good about being ready to drywall next weekend.
The past month or so has been crazy busy. Work has been busy. Weekends have been busy. Too busy. I haven’t had much time to catch up on chores or even relax enough – which of course has put me in a bad mood for the past couple of weeks. And me being stressed and grouchy doesn’t help the rest of the house relax.
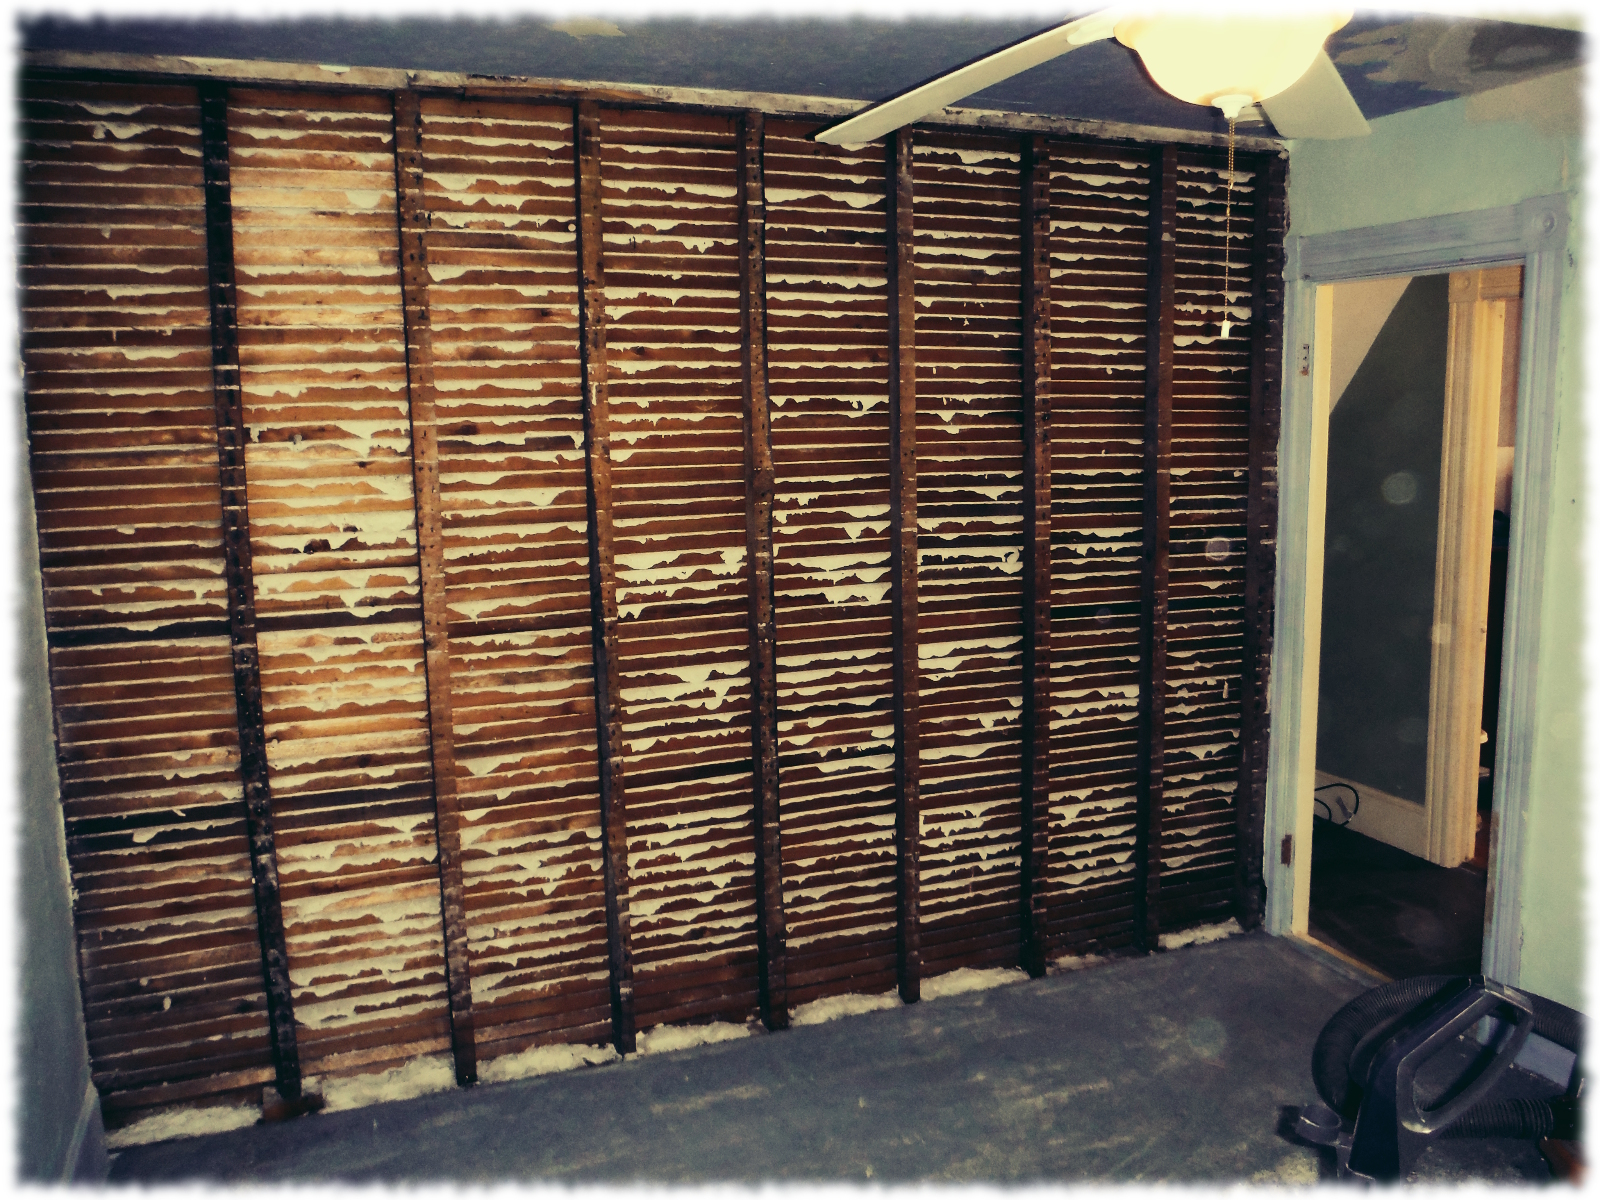
Finally this weekend I have been able to get a little time to focus on things at home. Susanna and I have been arguing discussing how much renovation we should do in the nursery. We had originally planned on gutting almost the whole room, but that seemed like too big of a project to finish in time. The minimum work was to put drywall up covering the ceiling. I think we finally agreed that we would gut one wall, cover a second wall (where there is no trim to require us to pull off the plaster) and the ceiling, and just repaint the remaining walls. We also will pull out the carpet and put in a new floor.
The boys and I took down the plaster and lath on the interior wall that we are replacing. The plaster on that wall was in pretty bad shape, so it was best to just replace it. It took us about 2-1/2 hours to demolish the wall and clean up the room.
Tomorrow morning I’ll work on moving an outlet on the north wall and adding new outlets to the (now) demolished wall. Over Thanksgiving we will start drywalling the room. It feels good to make progress.
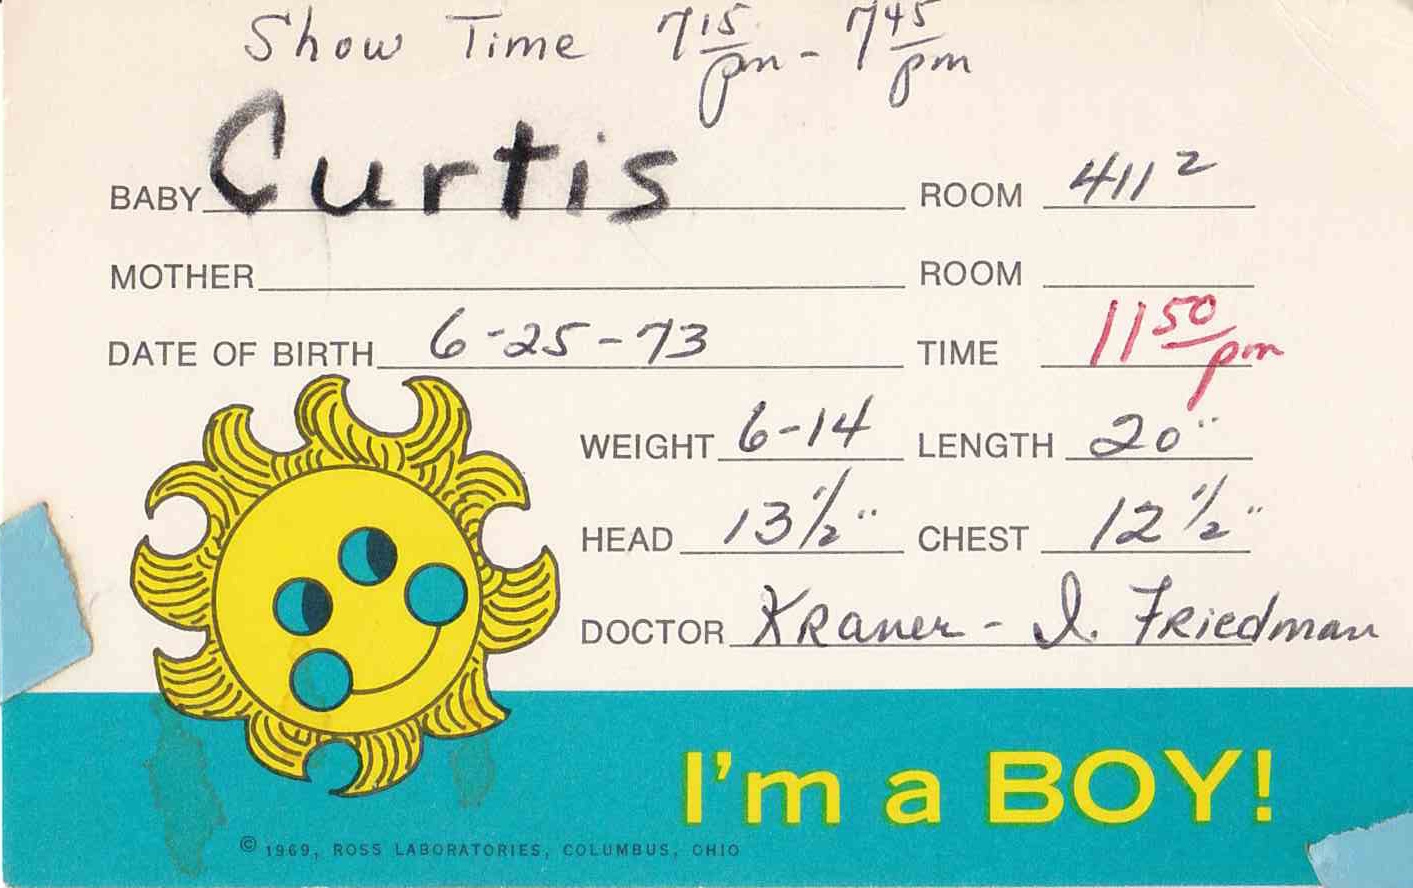
And the backside of the card…

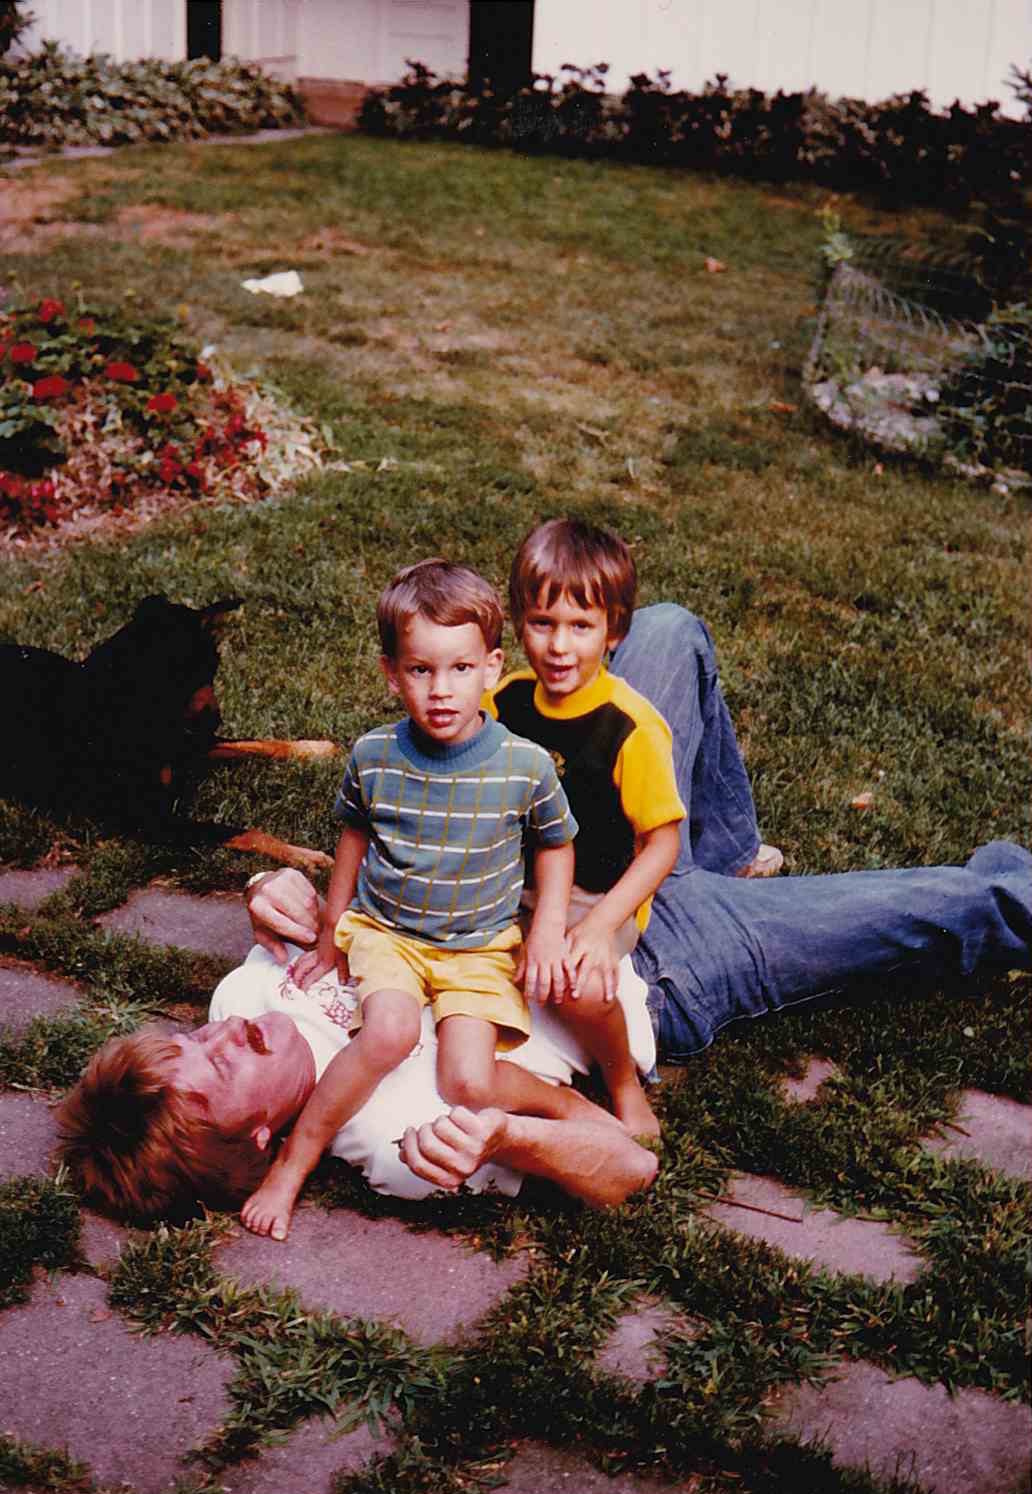
Love the Moonlight Ramble 1982 t-shirt on Bill.

I’m adding a few pictures to balance out the #TBT posts. It is sort of a #LookAheadSaturday type of morning. Here is Isabella at 24 weeks. Now I should get back to house projects so we can have the nursery finished for February.