Front Porch Railing Progress

I’m working on replacing the front porch stairs. When I purchased the house, there were no railings on the stairs. As part of a VA loan refinance a few years ago I had very simple railings installed. This time I want to make the stairs match the house style. We have a Victorian farmhouse, so I didn’t want to go too fancy, but wanted something more than spindles from the box store.

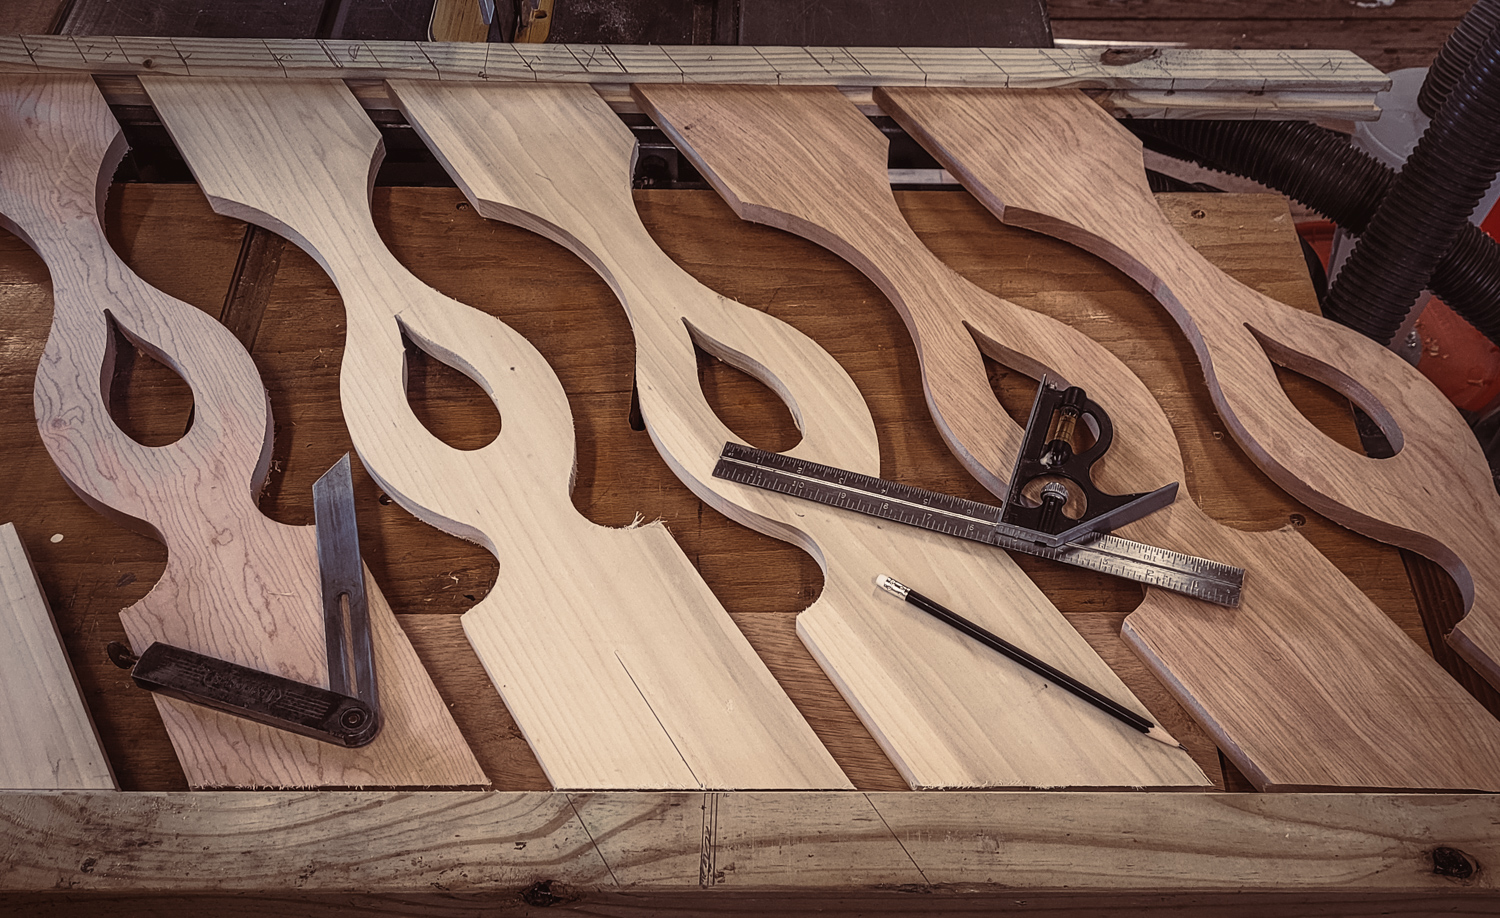
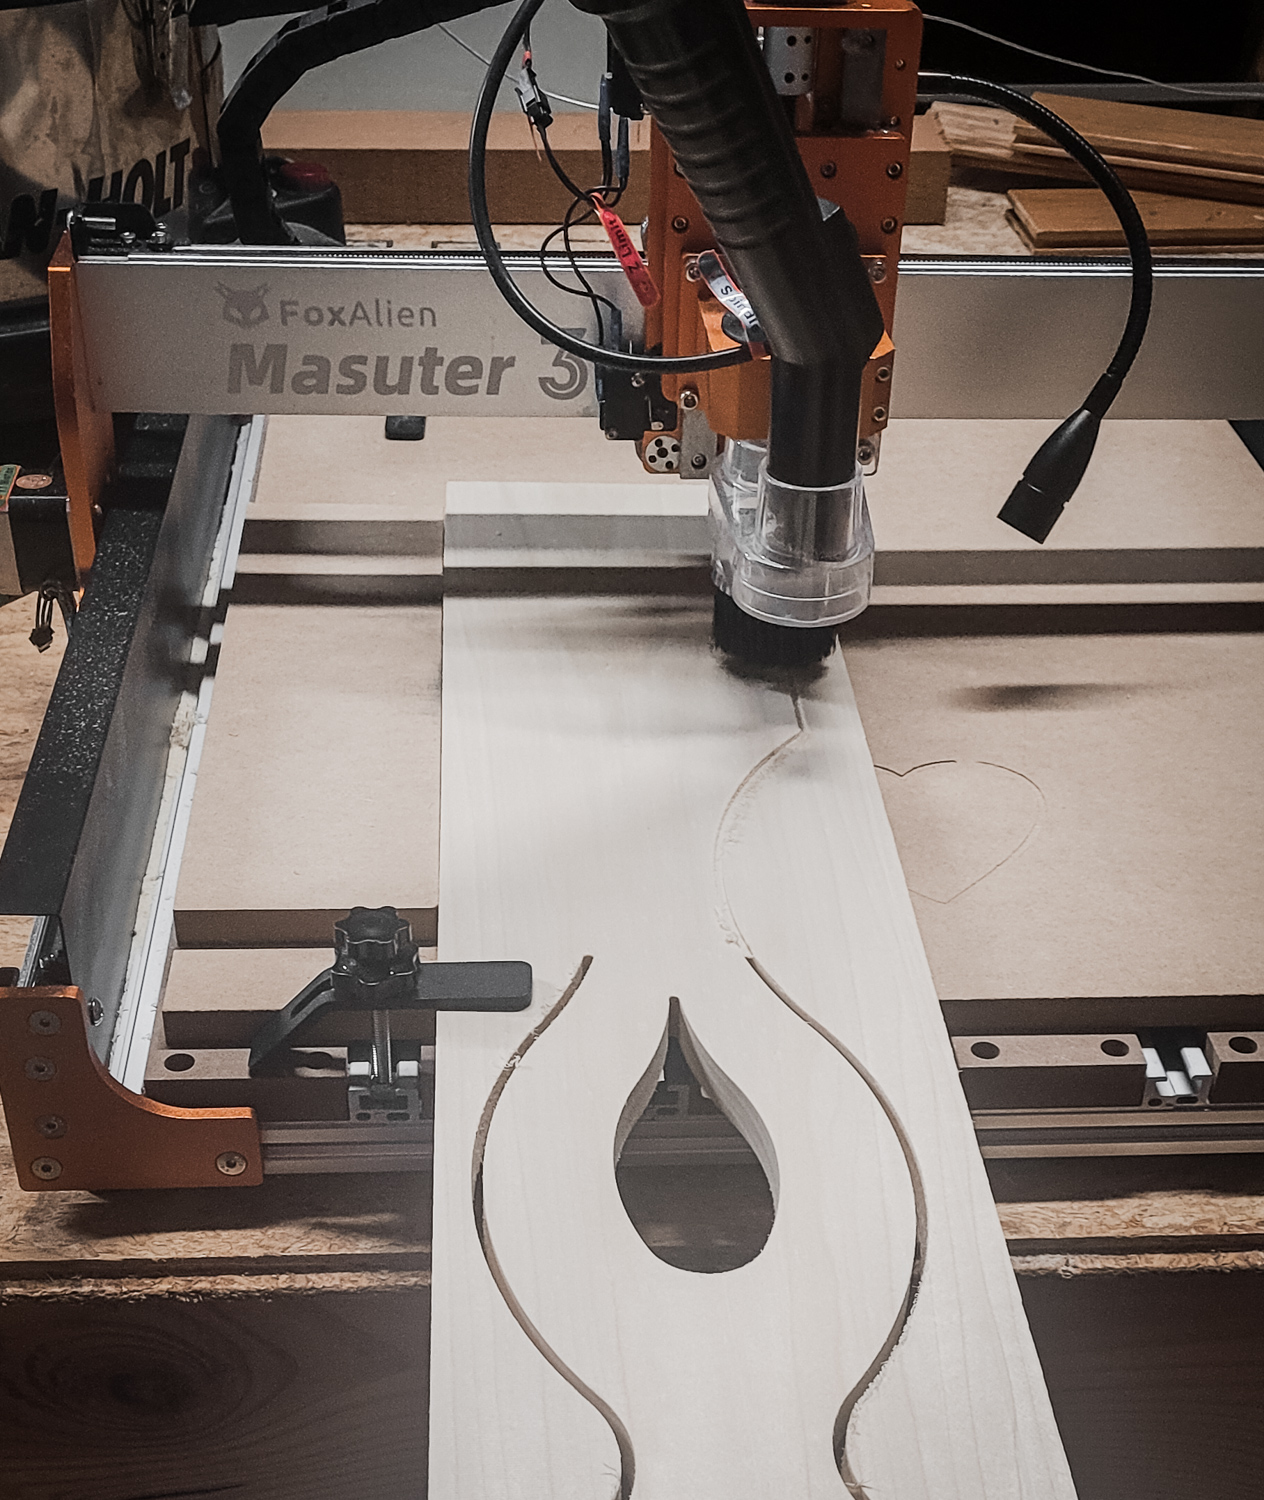
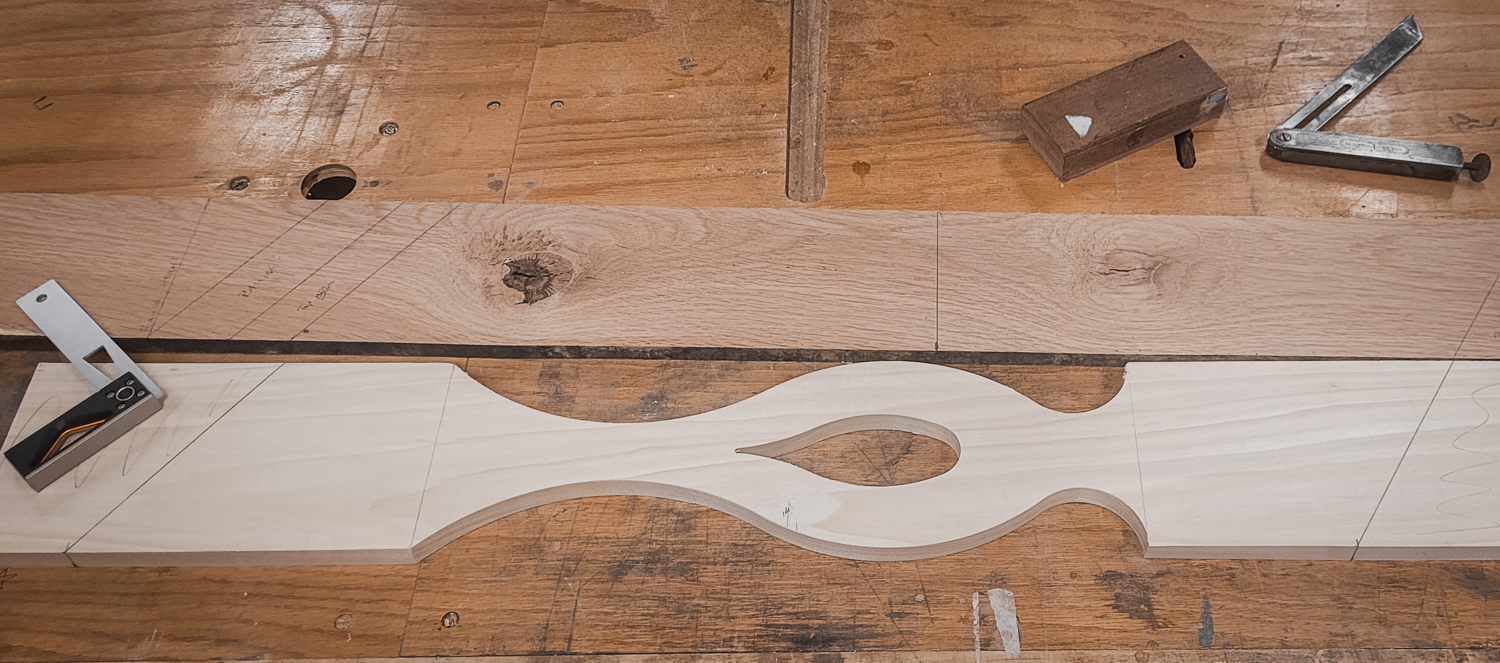
I initially cut the balusters on the CNC, but it was a 2-hour cut for each baluster on the machine. I’ve improved the process to 15-minutes on the CNC (cut the inside shape and a shallow outline of the outside) followed up by a jig saw and pattern bit on the router, for a total build time of 30-minutes per baluster, thought I can do the shop work while the CNC is cutting the next baluster.

Today I started fitting the balusters to the top subrail to check my spacing. I’m using the porch guide from Vintage Woodworks as a start. The balusters are a mix of poplar and birch (I had a birch board laying around), but will be painted. The birch was a lot harder to to work with than the poplar (as expected).

Test fitting the balusters and top subrail on the stairs. The top rail will be a touch lower than in the picture and attach to the bottom side of the handrail. I still need to install the bottom rail and figure out how to attach the bottom rail to the porch. I am still in the process of cutting out the final baluster for this section.

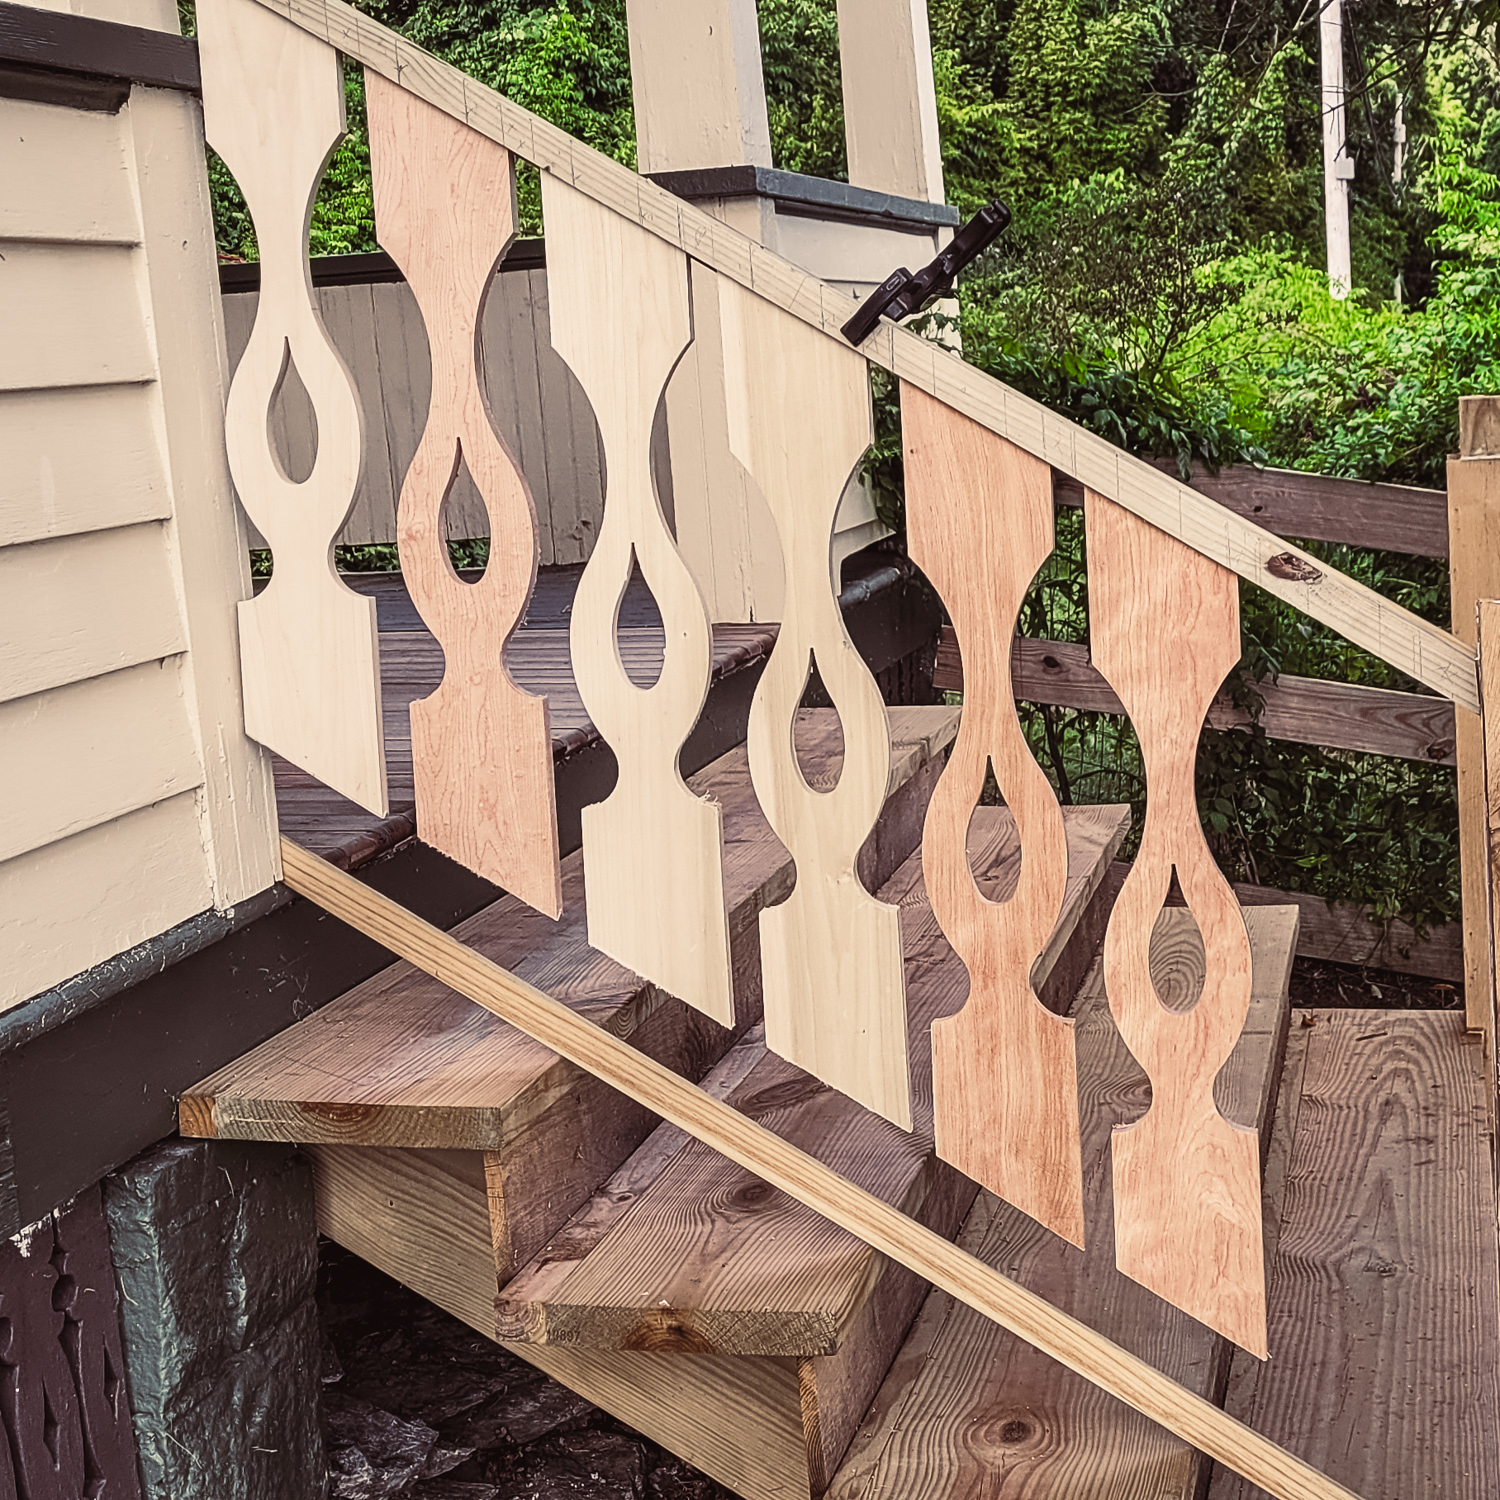
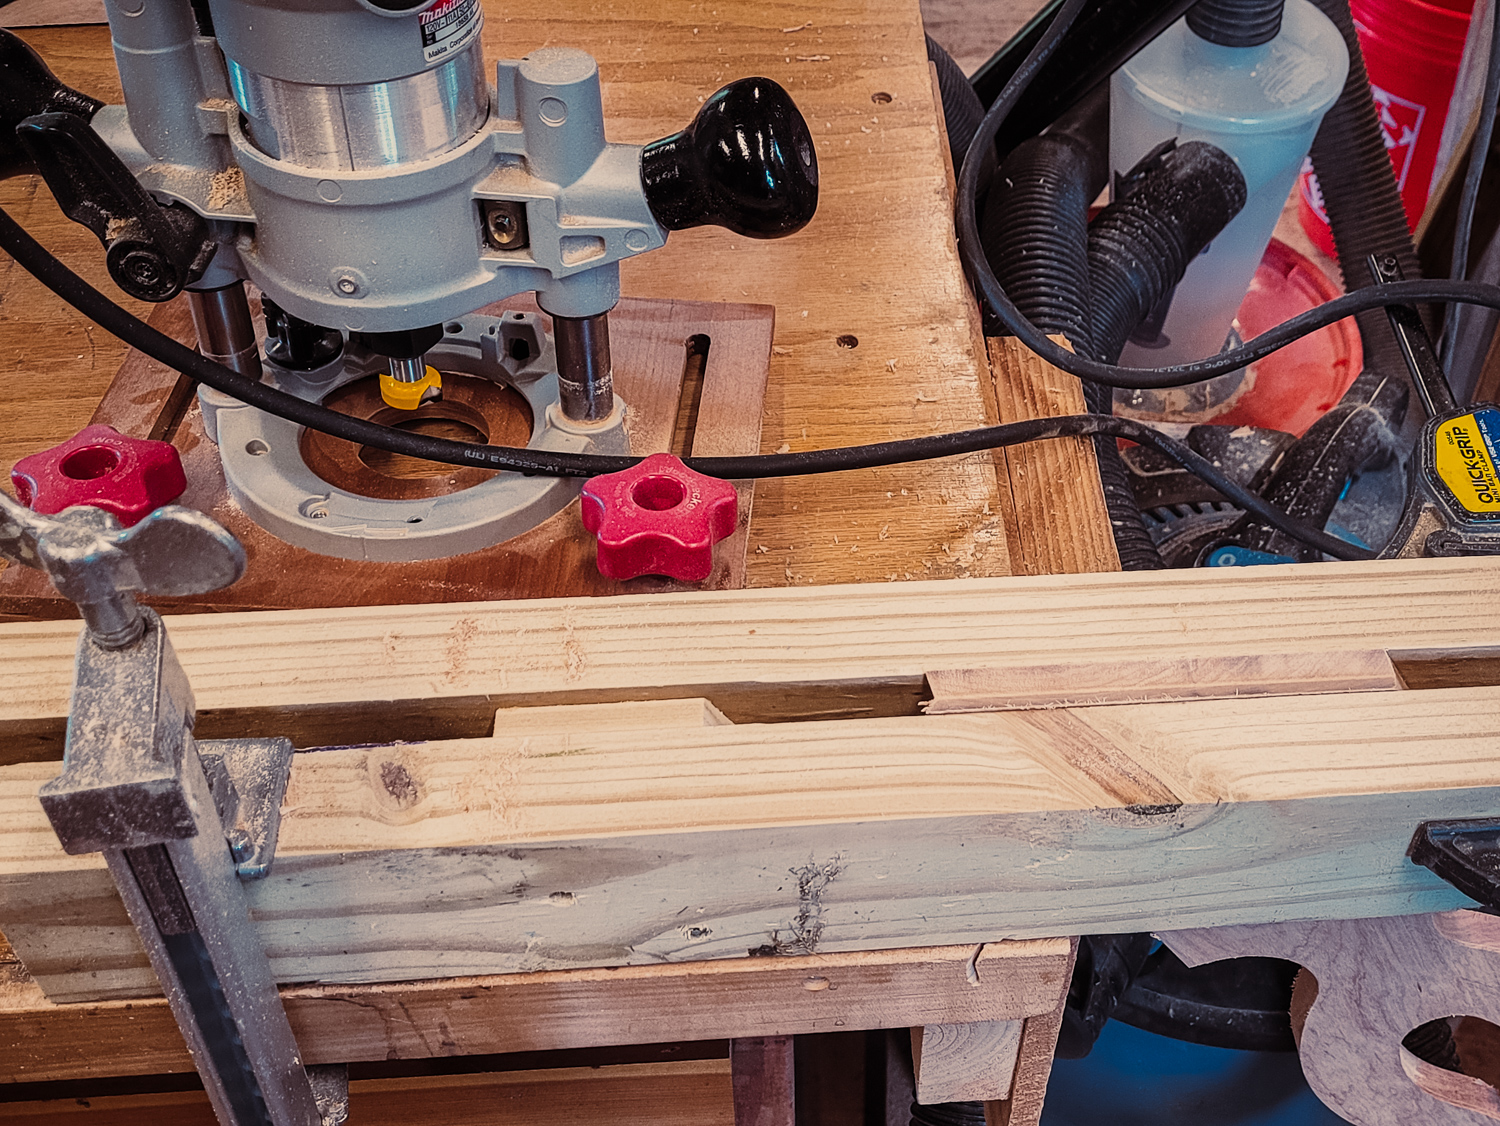
After testing the fit, I started working out how to attach the bottom rail to the balusters. Once the balustrade is assembled and passes the test fit, I will disassemble the pieces, sand, prime, and paint prior to reassembling and installing the balustrade on the porch.

Laying out the bottom rail on the bench. The challenge is pre-drilling the screw holes accurately to prevent splitting the balusters.

Sawn Balusters for the Front Porch Stairs – Trimming the Bottom

Even though I plan on painting the balusters, I want to minimize the water on the underside of the part. I am adding a v-groove on the bottom of the balusters that will ride in a corresponding sloped top of the bottom rail. I tried to cut the v-groove with the tablesaw, but couldn’t get it to make an even groove. This week I ordered a 120-degree bit for the router and built a jig to cut the bottom of each baluster.

Jig for routing the bottom of each baluster.

I initially tried to setup something in the router table, but the balusters are 31″ long, and would be awkward to stand up on end on the table. I decided to bring the router to the work instead, and built a jig from scrap lumber. I have a few more balusters to cut out this weekend, but then I’ll be ready to start installing the parts on the railing.

The next big challenge will be to figure out how to pre-drill the top and bottom rails as well as the balusters so that they don’t split when screwed together.

CNC Project – Sawn Balusters for the Front Porch Stairs

I have been working on repairing the front porch for a while. It has been one of those projects that I didn’t have a problem starting, but I’ve been very slow finishing. One of the repairs I have been working on has been the front stairs. If the existing stairs weren’t original to the house, they were certainly past their useful life. I have the stairs installed, and am now working on the railing.

I didn’t really like the look of the simple balusters that one can get at the hardware store, so decided to use sawn balusters. However, they are very pricey to order online, and only come in limited styles. I purchased a collection of digital patterns on Etsy, and decided to try to make them myself.

The balusters are made from Poplar that I milled to 5/8″ thick. I think I need to make a total of 14 balusters for the project, and each currently takes about 2-hours to cut out. I’m currently cutting out the entire shape on the CNC. However I may switch to using a pattern bit and router for the outside if the CNC takes too long. The nice thing about the CNC is that I can work on other projects in the shop while it is running.

Lesson’s learned so far:
1. The balusters need to be a little over 31″ long to fit between the top and bottom rail. The boards I have are a little over 7′ long, so I can only get two balusters per board. I need boards a touch over 8′ long to get 3 balusters/board. I’ll have to look through the stack at the lumber yard to get longer pieces when I go back.
2. It takes lots of trial and error to get the cut right. I used MDF as a cheap practice material, however the MDF is tough on the CNC bits.
3. This is a pretty hefty project for this hobby machine, so shallow cuts and long cut times are what seem to work.

My CNC is only 14″ x 14″, so I have to tile the cut and do the project in two steps:

Cutting the second tile on the CNC. Moving the board between cuts requires careful measurements.
The baluster off of the CNC. I cut the edges off at the tablesaw and smooth with a hand plane.
Completed baluster ready to be cut to final size, painted, and finally installed.